

Getting Started
This page is a step-by-step guide to deploying your Storefront Application on SCAYLE Storefront Hosting for the first time, along with the prerequisites needed to use the platform.
Migrating an existing storefront? Moving an existing Storefront Application repository to Storefront Hosting has its own considerations. See Migrate Existing Storefronts for a dedicated guide.
Prerequisites
Before you begin, you'll need:
- Access to the Hosting section in your SCAYLE Panel.
- Access to a Git repository. it must contain an existing Storefront Application codebase or, if the Initialize Git Repository option is selected, must be empty.
Shops and environments
Before connecting your repository, it helps to understand two foundational SCAYLE concepts that shape how Storefront Hosting works.
A shop is the SCAYLE entity that represents an online store - a brand, an outlet, a B2B shop, or any other distinct storefront. Each shop you host with Storefront Hosting is set up as its own Hosting project, and you can run multiple shops within the same SCAYLE instance. For a deeper explanation of SCAYLE's shop structure, see Understanding Your Shop Structure.
An environment is a deployment target within a shop - typically a staging environment for testing changes and a live environment for production traffic. Environments let you preview and quality-check changes before they reach your customers. The number of environments available depends on your tenant space:
- Non-live tenant spaces get 1 environment per shop.
- Live tenant spaces get 2 environments per shop.
You don't need to create the first environment manually it's created automatically when you connect your repository (see Step 1).
First Time Repository Set Up
If you're using Storefront Hosting for the first time, follow these five steps.
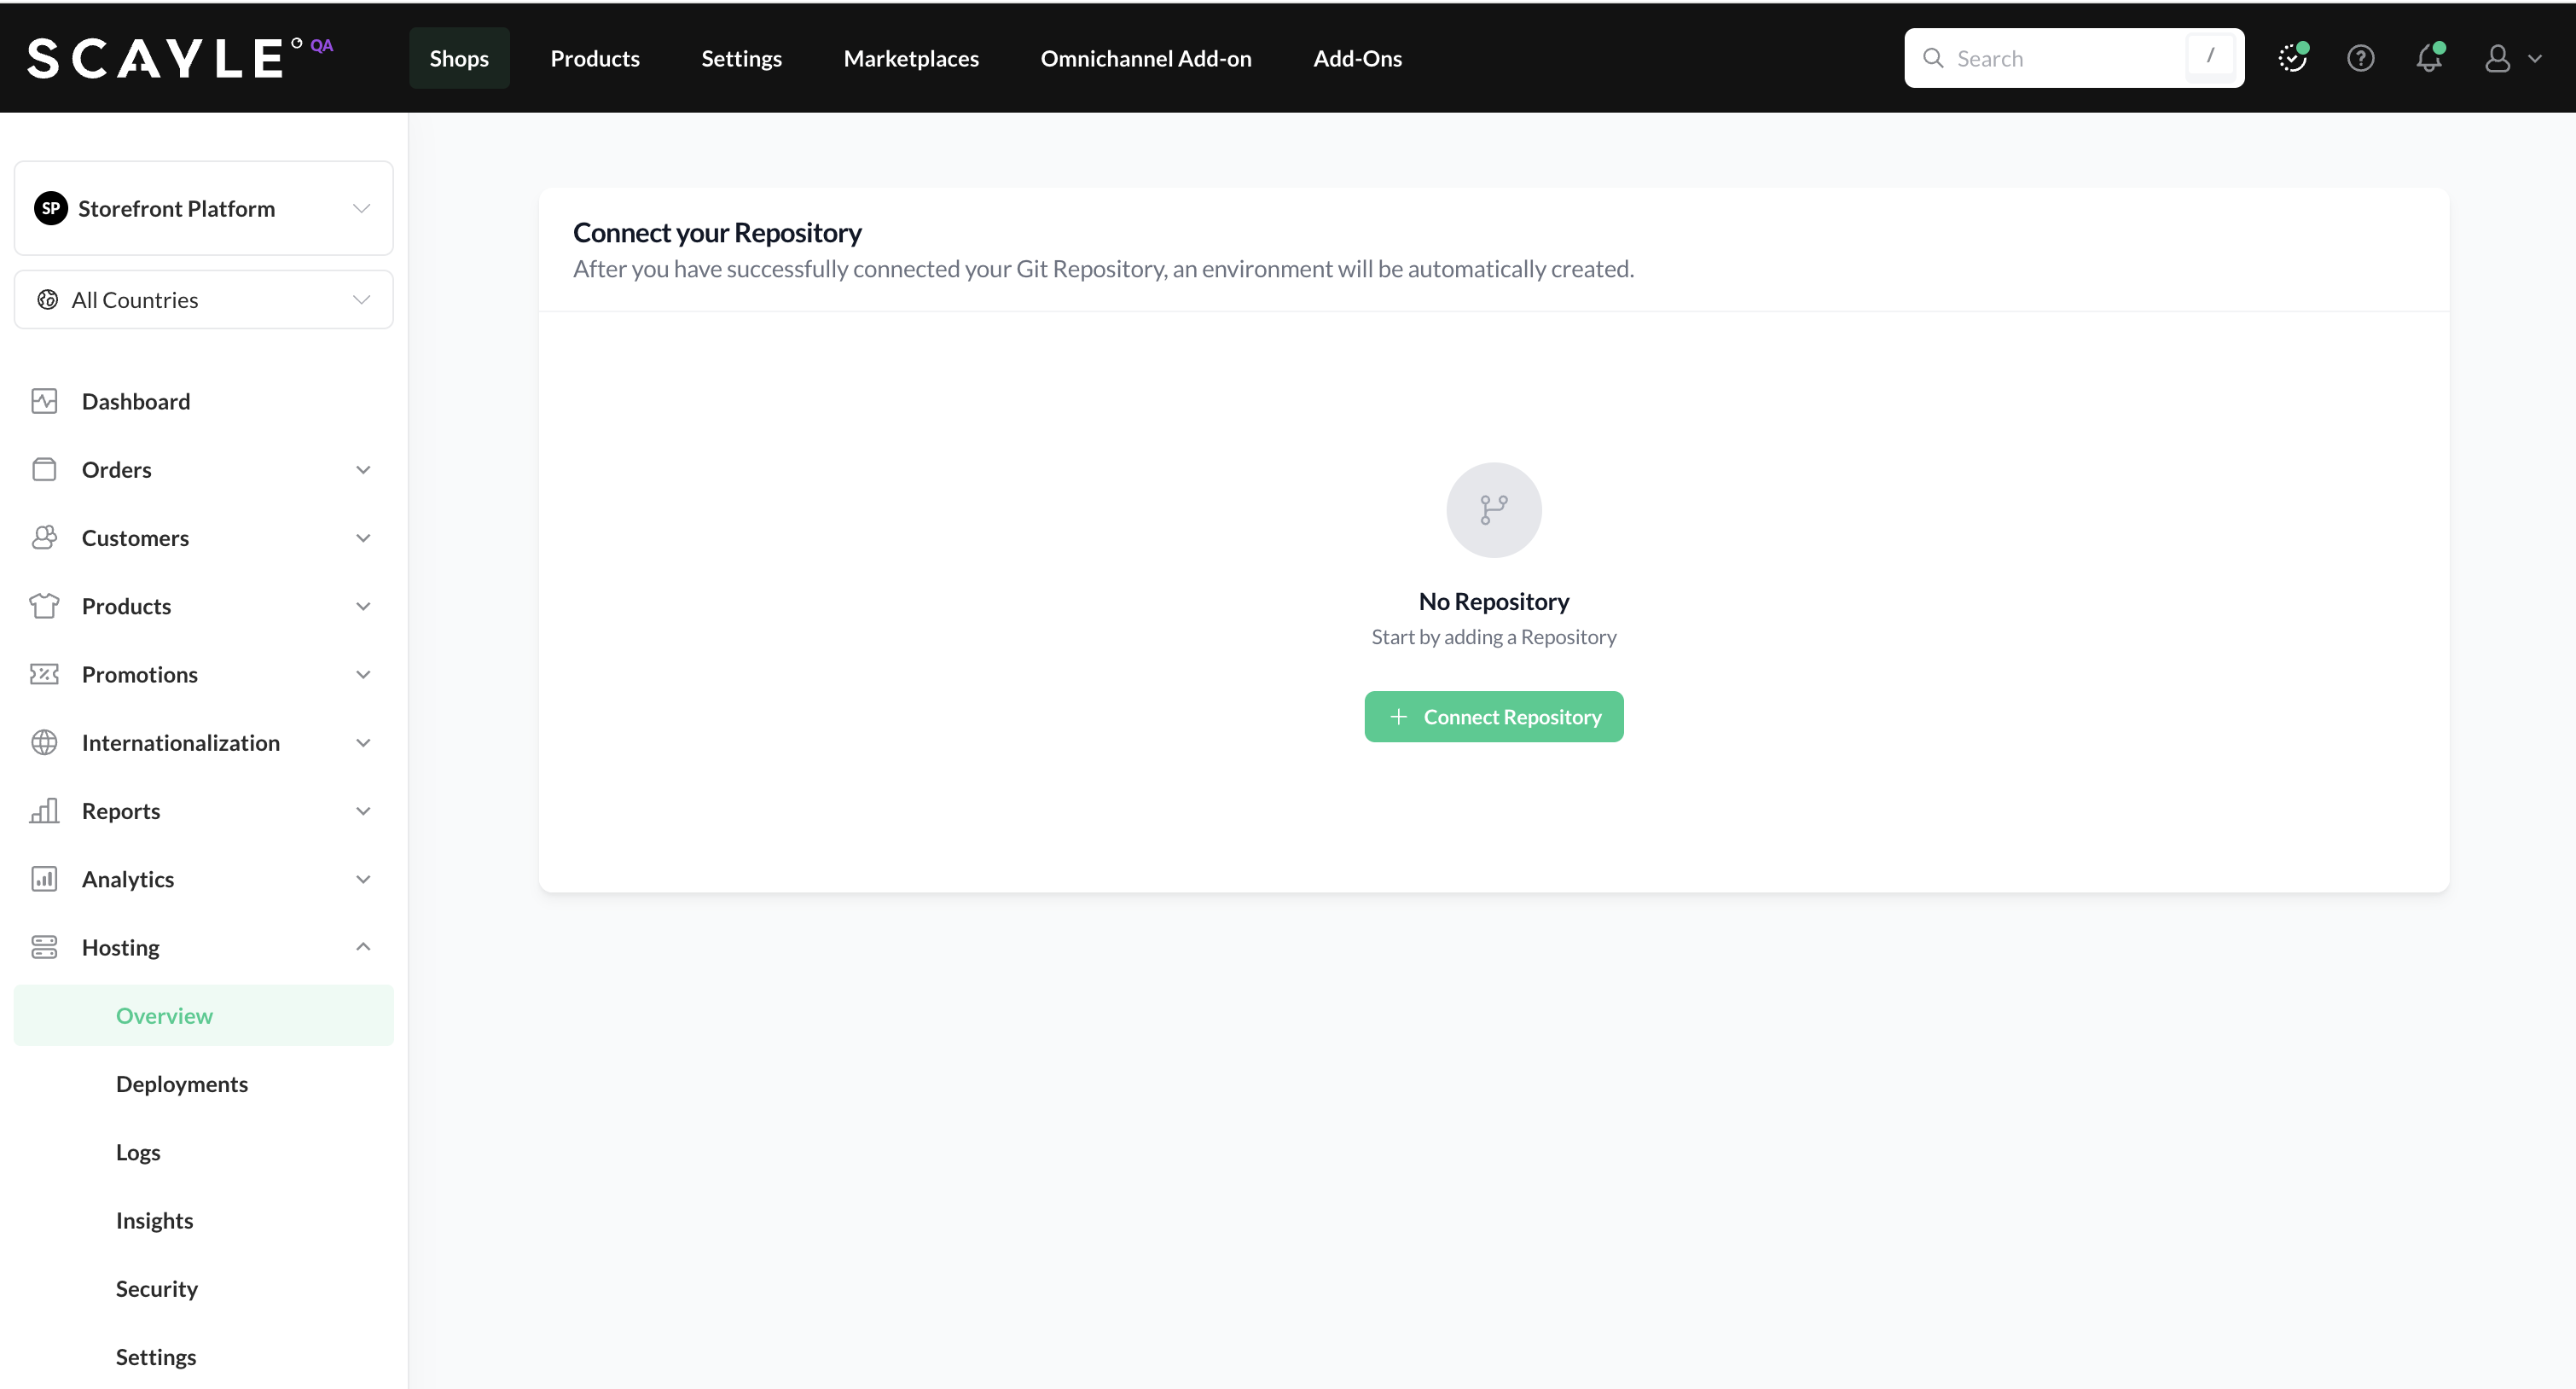
1. Connect Repository
To connect the Git repository that hosts your Storefront Application's source code, navigate to the Overview section in your shop's Hosting view and click the Connect Repository button.
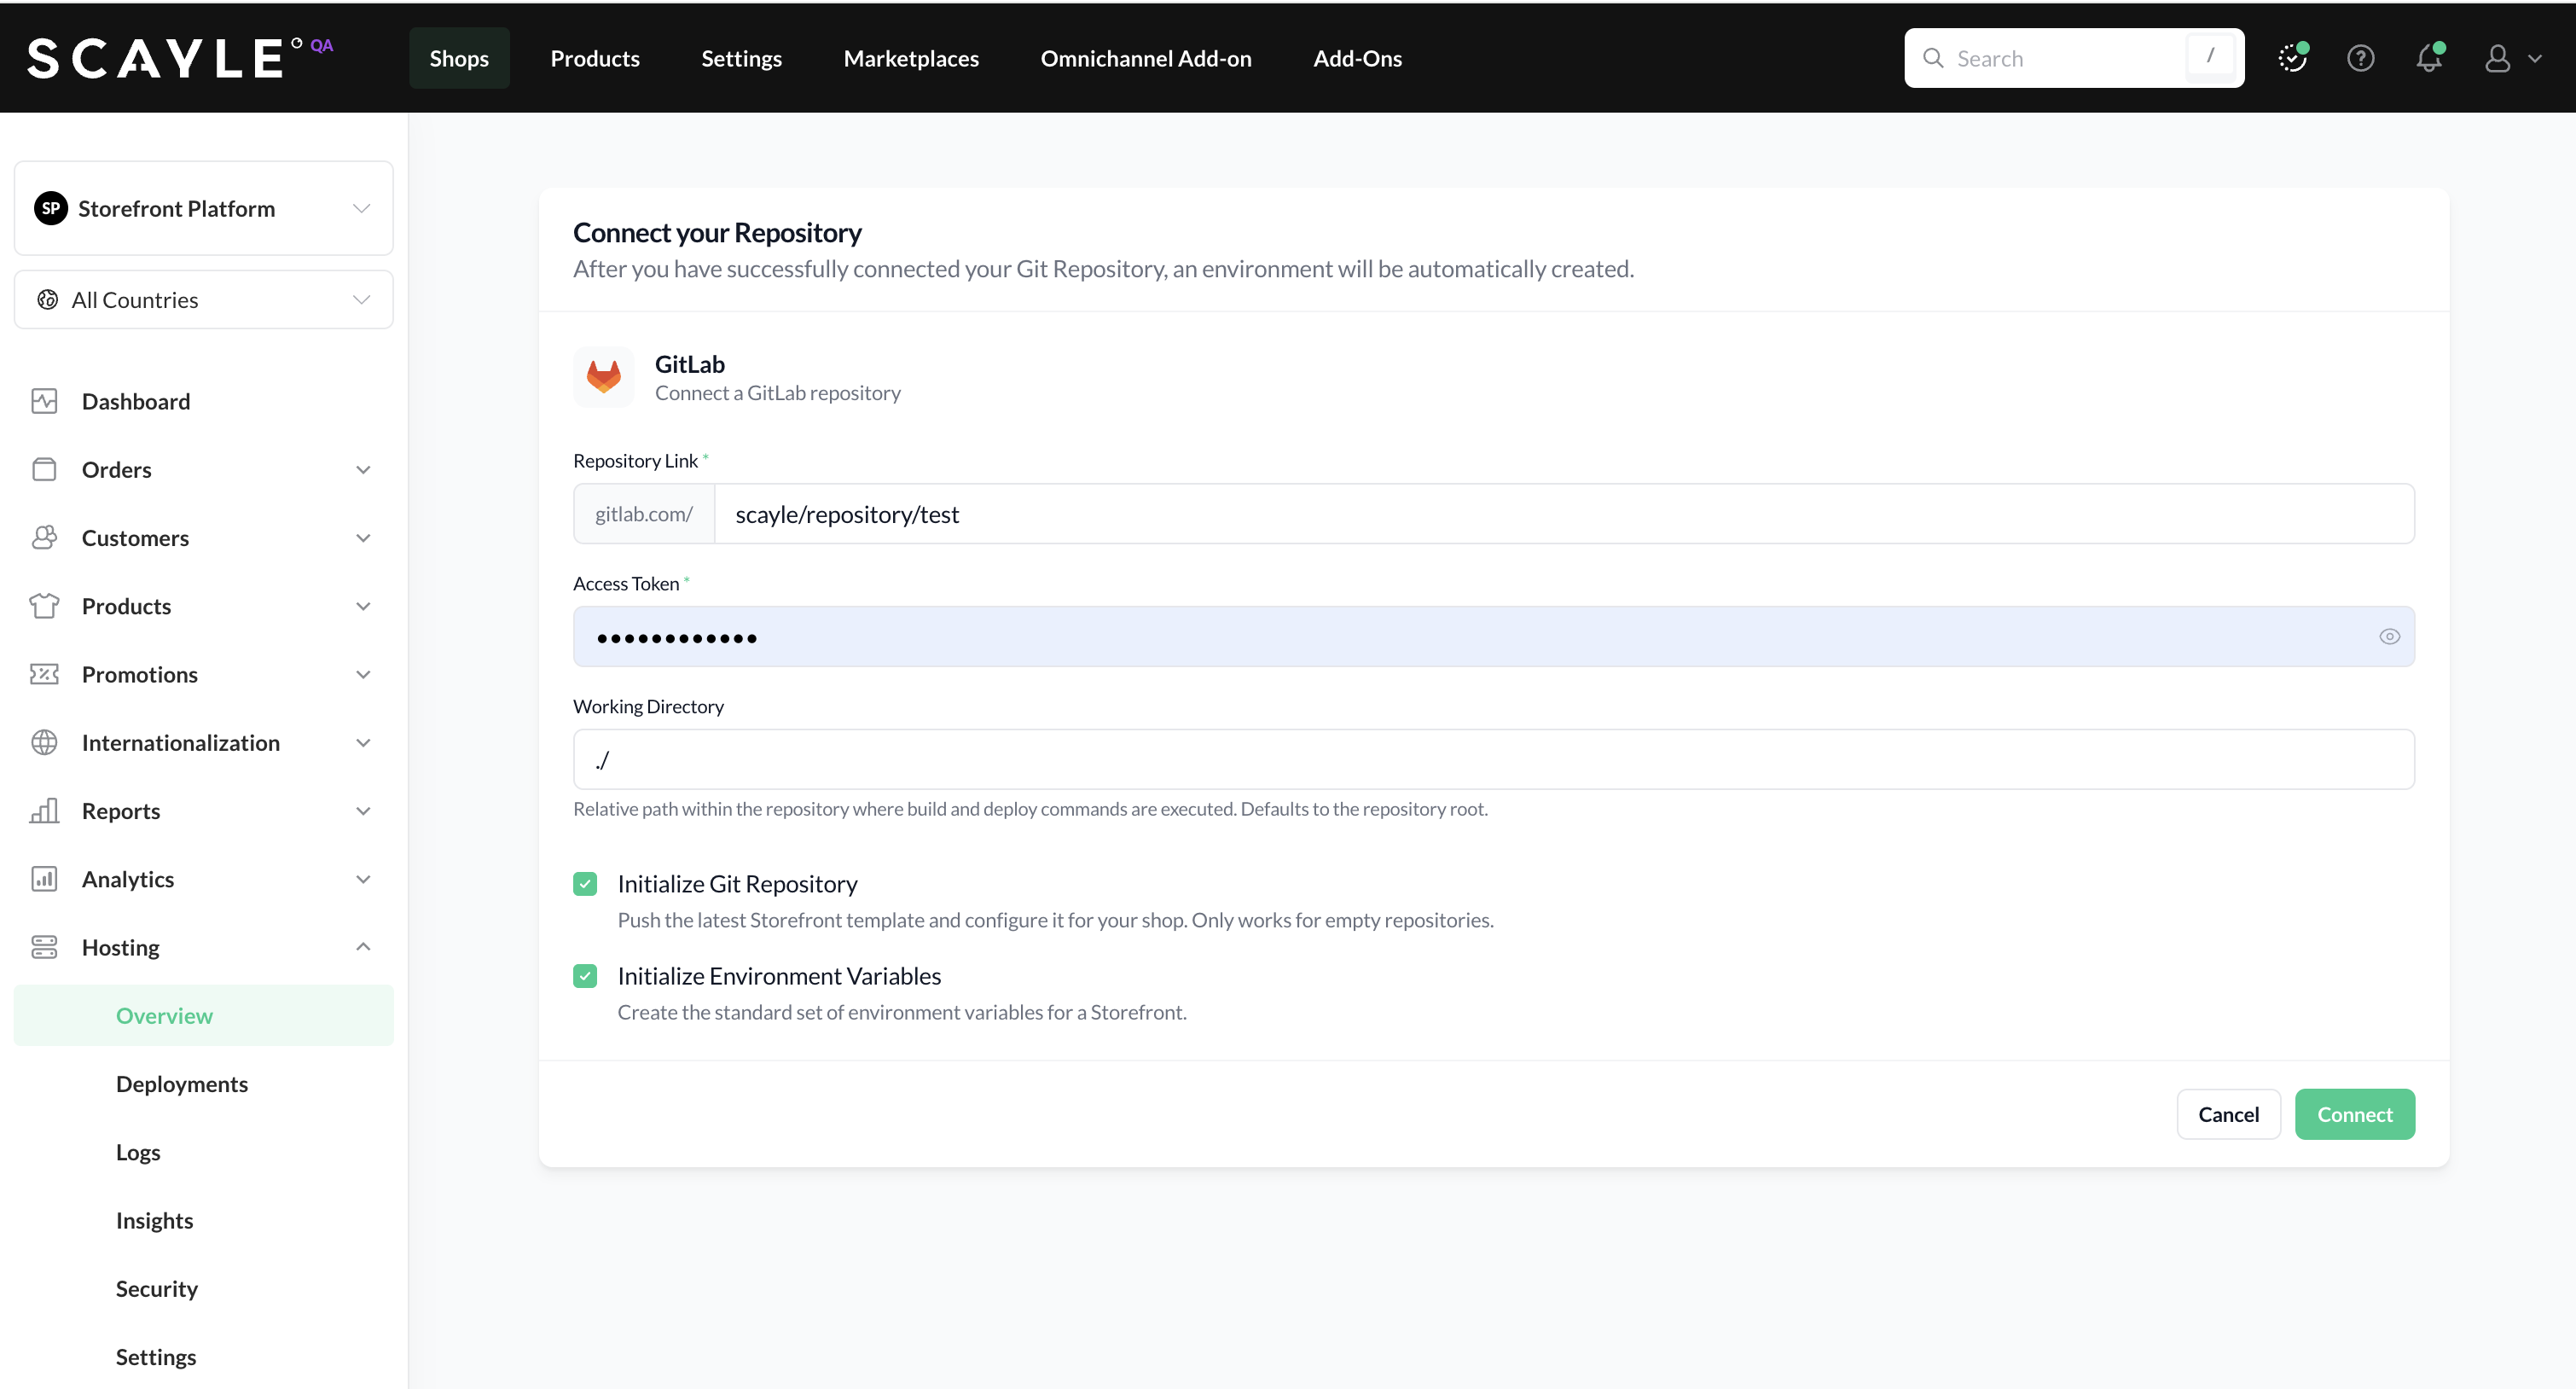
Select your Git provider:
- GitHub - provide the repository path and a Personal Access Token with the
reposcope. If you're using a fine-grained token, grant Contents: Read for an existing repository, or Contents: Read and write if you're initializing an empty one.. - GitLab - provide the repository path and a Personal Access Token with the
read_repositoryscope. If you're initializing an empty repository, the token also needswrite_repository - Other Git Repository - for any provider not listed (Bitbucket, Gitea, self-hosted Git, etc.), enter the connection details manually. A username is also required. Many providers accept any value for the username; some specify a particular one for example,
x-token-authfor Bitbucket.
Note for GitLab users: When initializing an empty GitLab repository in environments where the Developer role is not permitted to push directly, the access token must have Maintainer permissions, or the Fully protected after initial push branch protection setting must be enabled.
Connection details form for an unlisted provider.

Optionally, you may also:
- Set up the empty repository with a preconfigured, ready-to-use Storefront Application.
- Configure the environment variables needed to run the Storefront Application.
- If your Storefront Application doesn't live at the root of the repository (for example, in a monorepo subfolder or alongside other projects), set the Working Directory to the folder where your Storefront Application lives.
When the settings are complete, clicking the Connect button verifies the credentials and initiates the environment bootstrap.
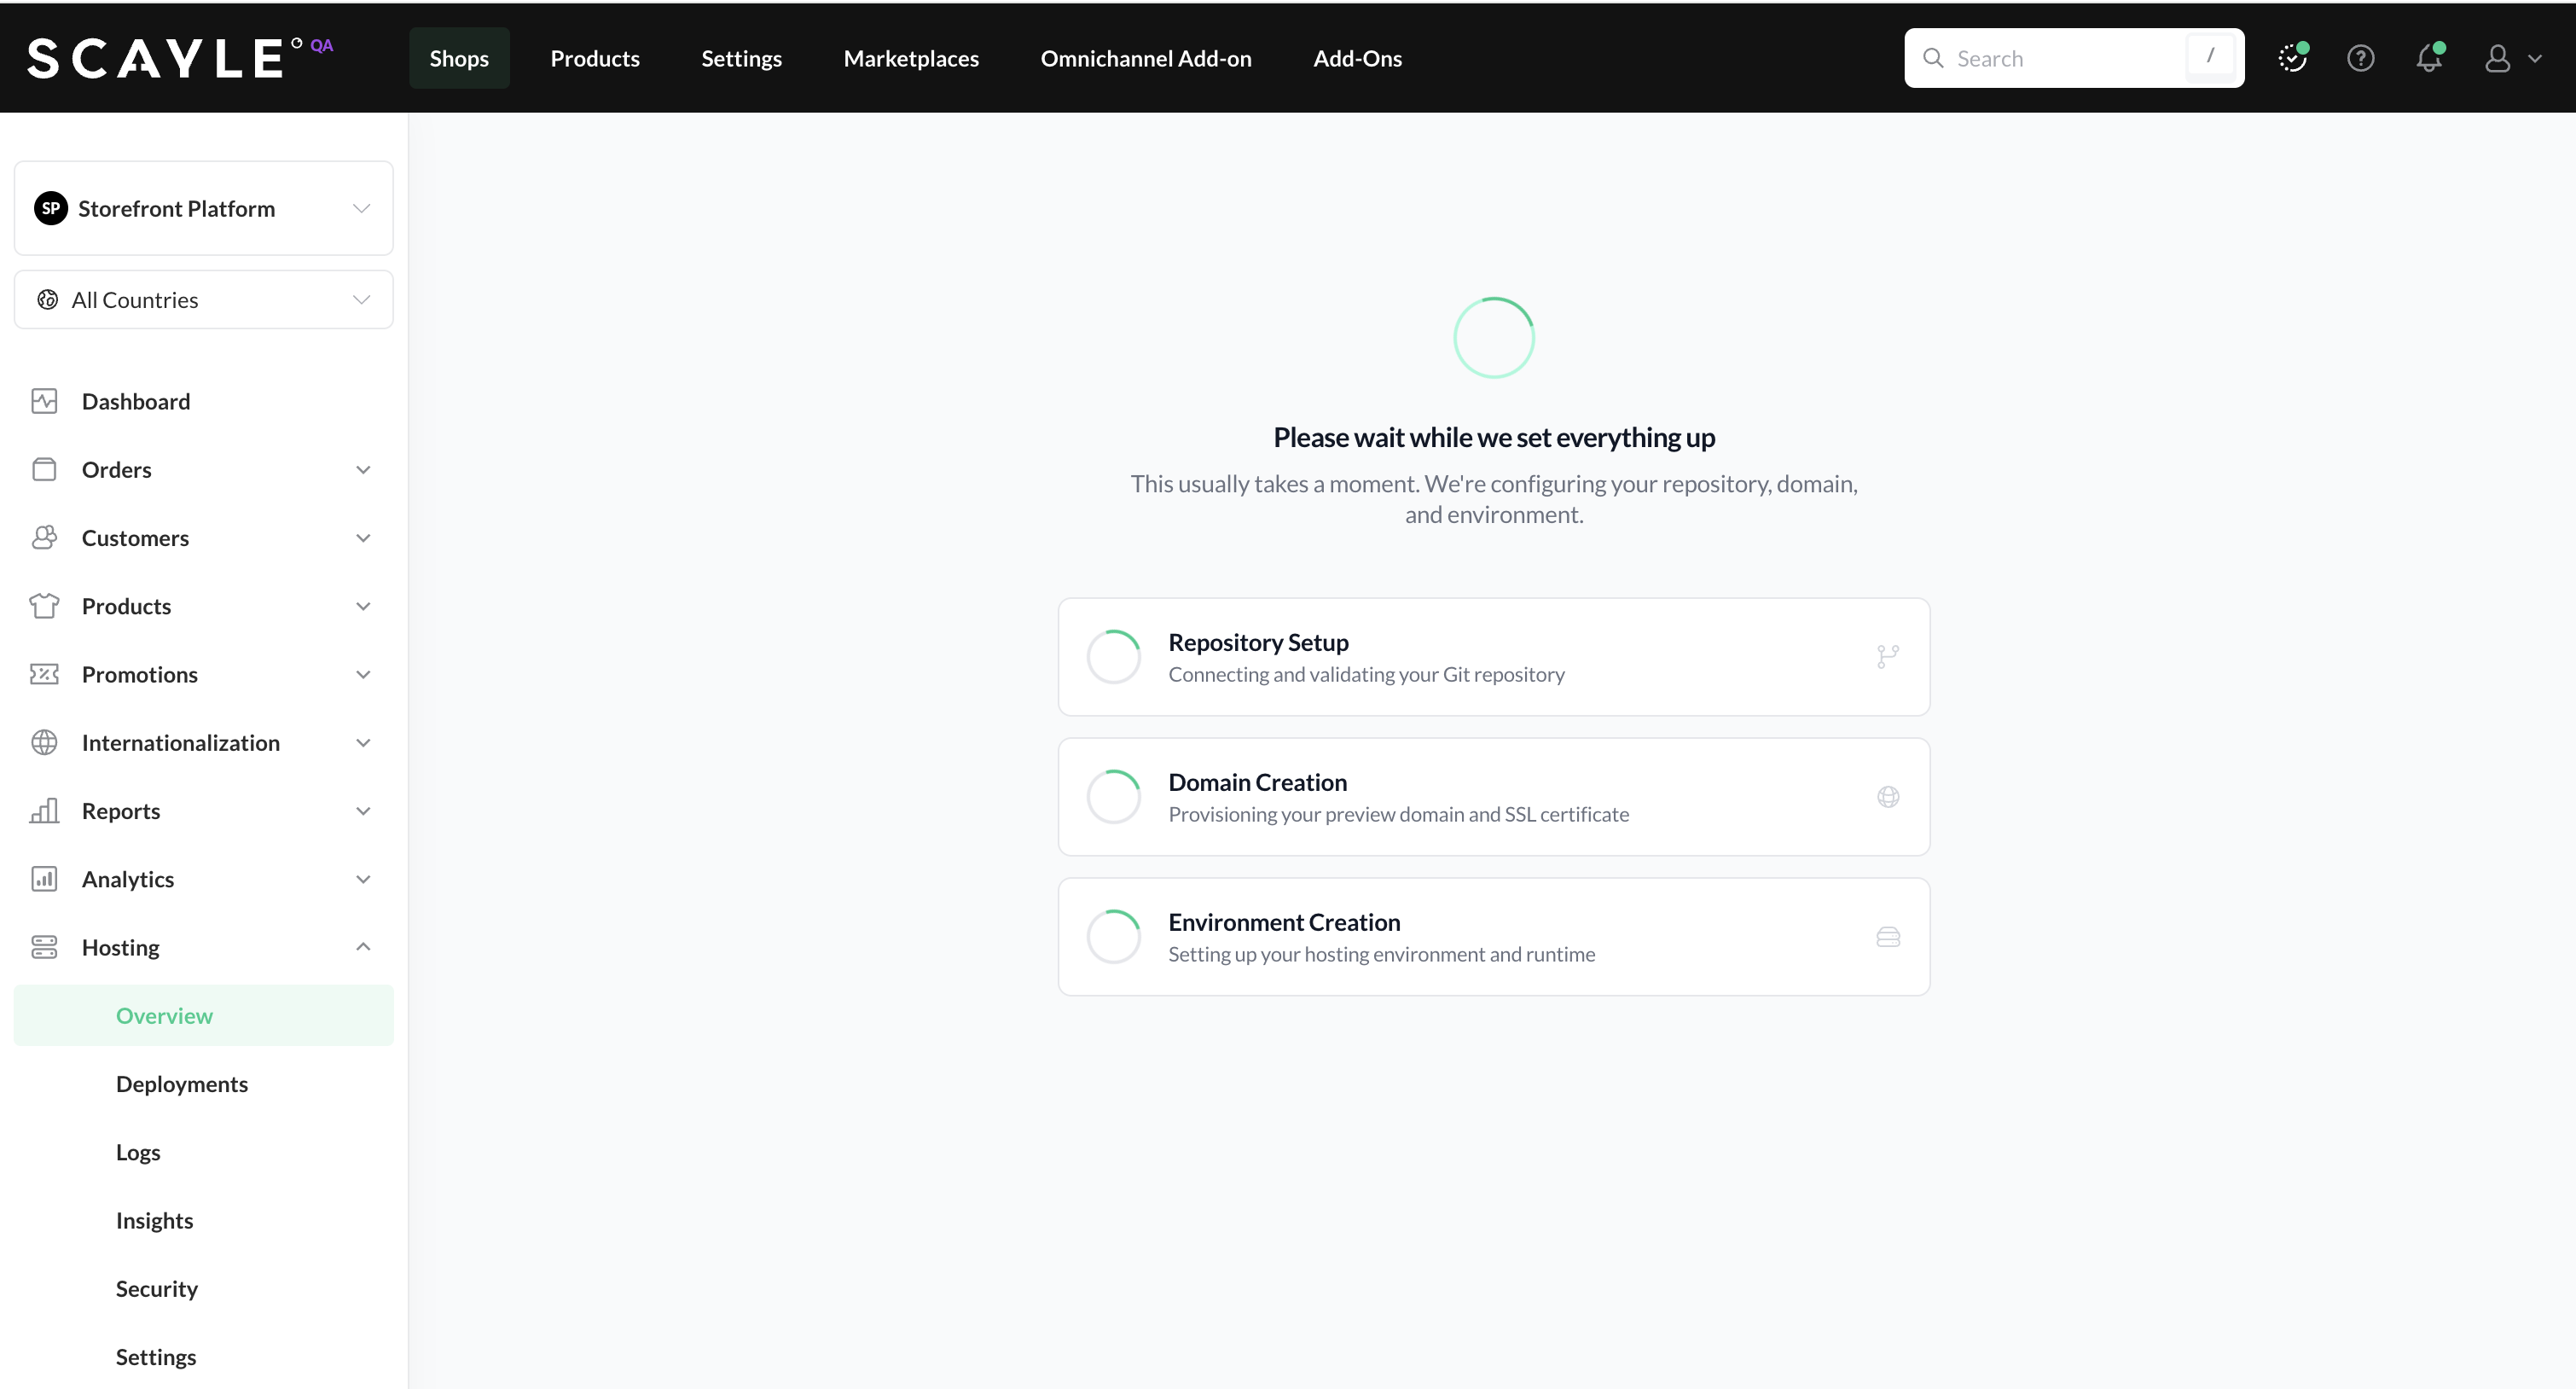
2. Hosting Setup in Progress
SCAYLE provisions your Hosting infrastructure in under 10 minutes. The bootstrap process includes:
- Injecting the Storefront Application source code into your repository (if you selected the empty-repository initialization).
- Database provisioning.
- SCAYLE-generated DNS and preview domain setup.
- Automatic creation of your first environment.
When the bootstrap finishes, your initial setup is complete.
If the connection fails, you'll see a notification. Retry by double-checking the values you entered for your Git repository. If the failure persists, contact your SCAYLE Account Manager the SCAYLE team can help you debug the setup.
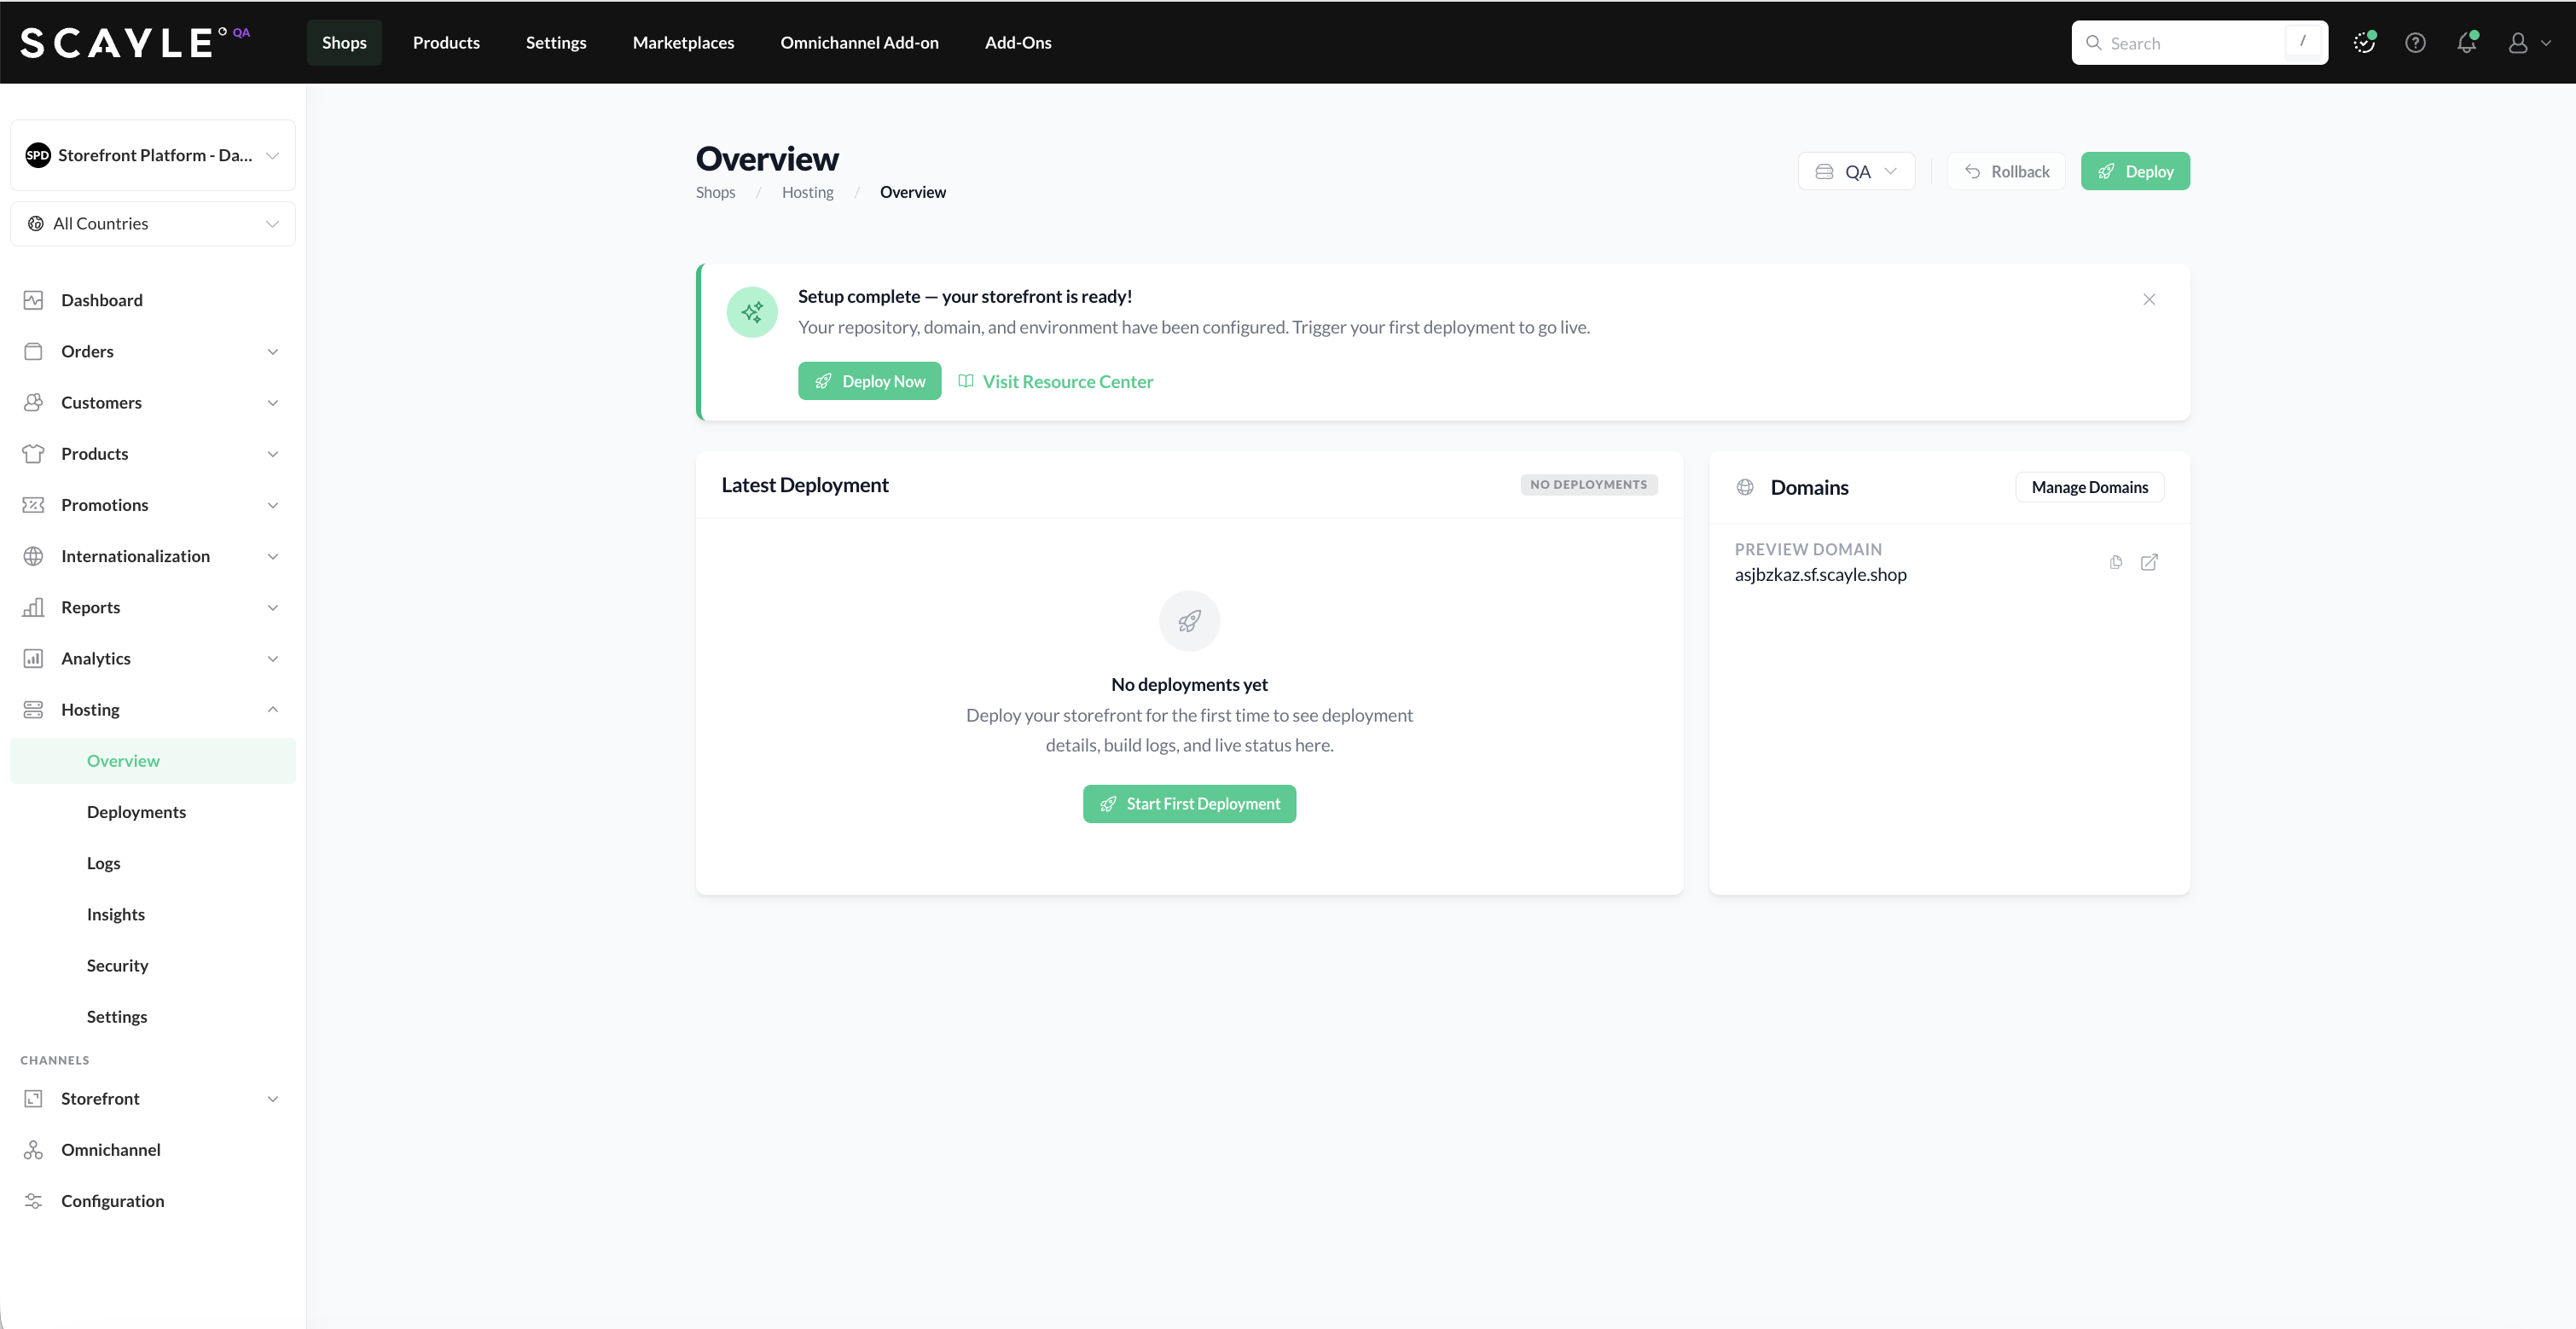
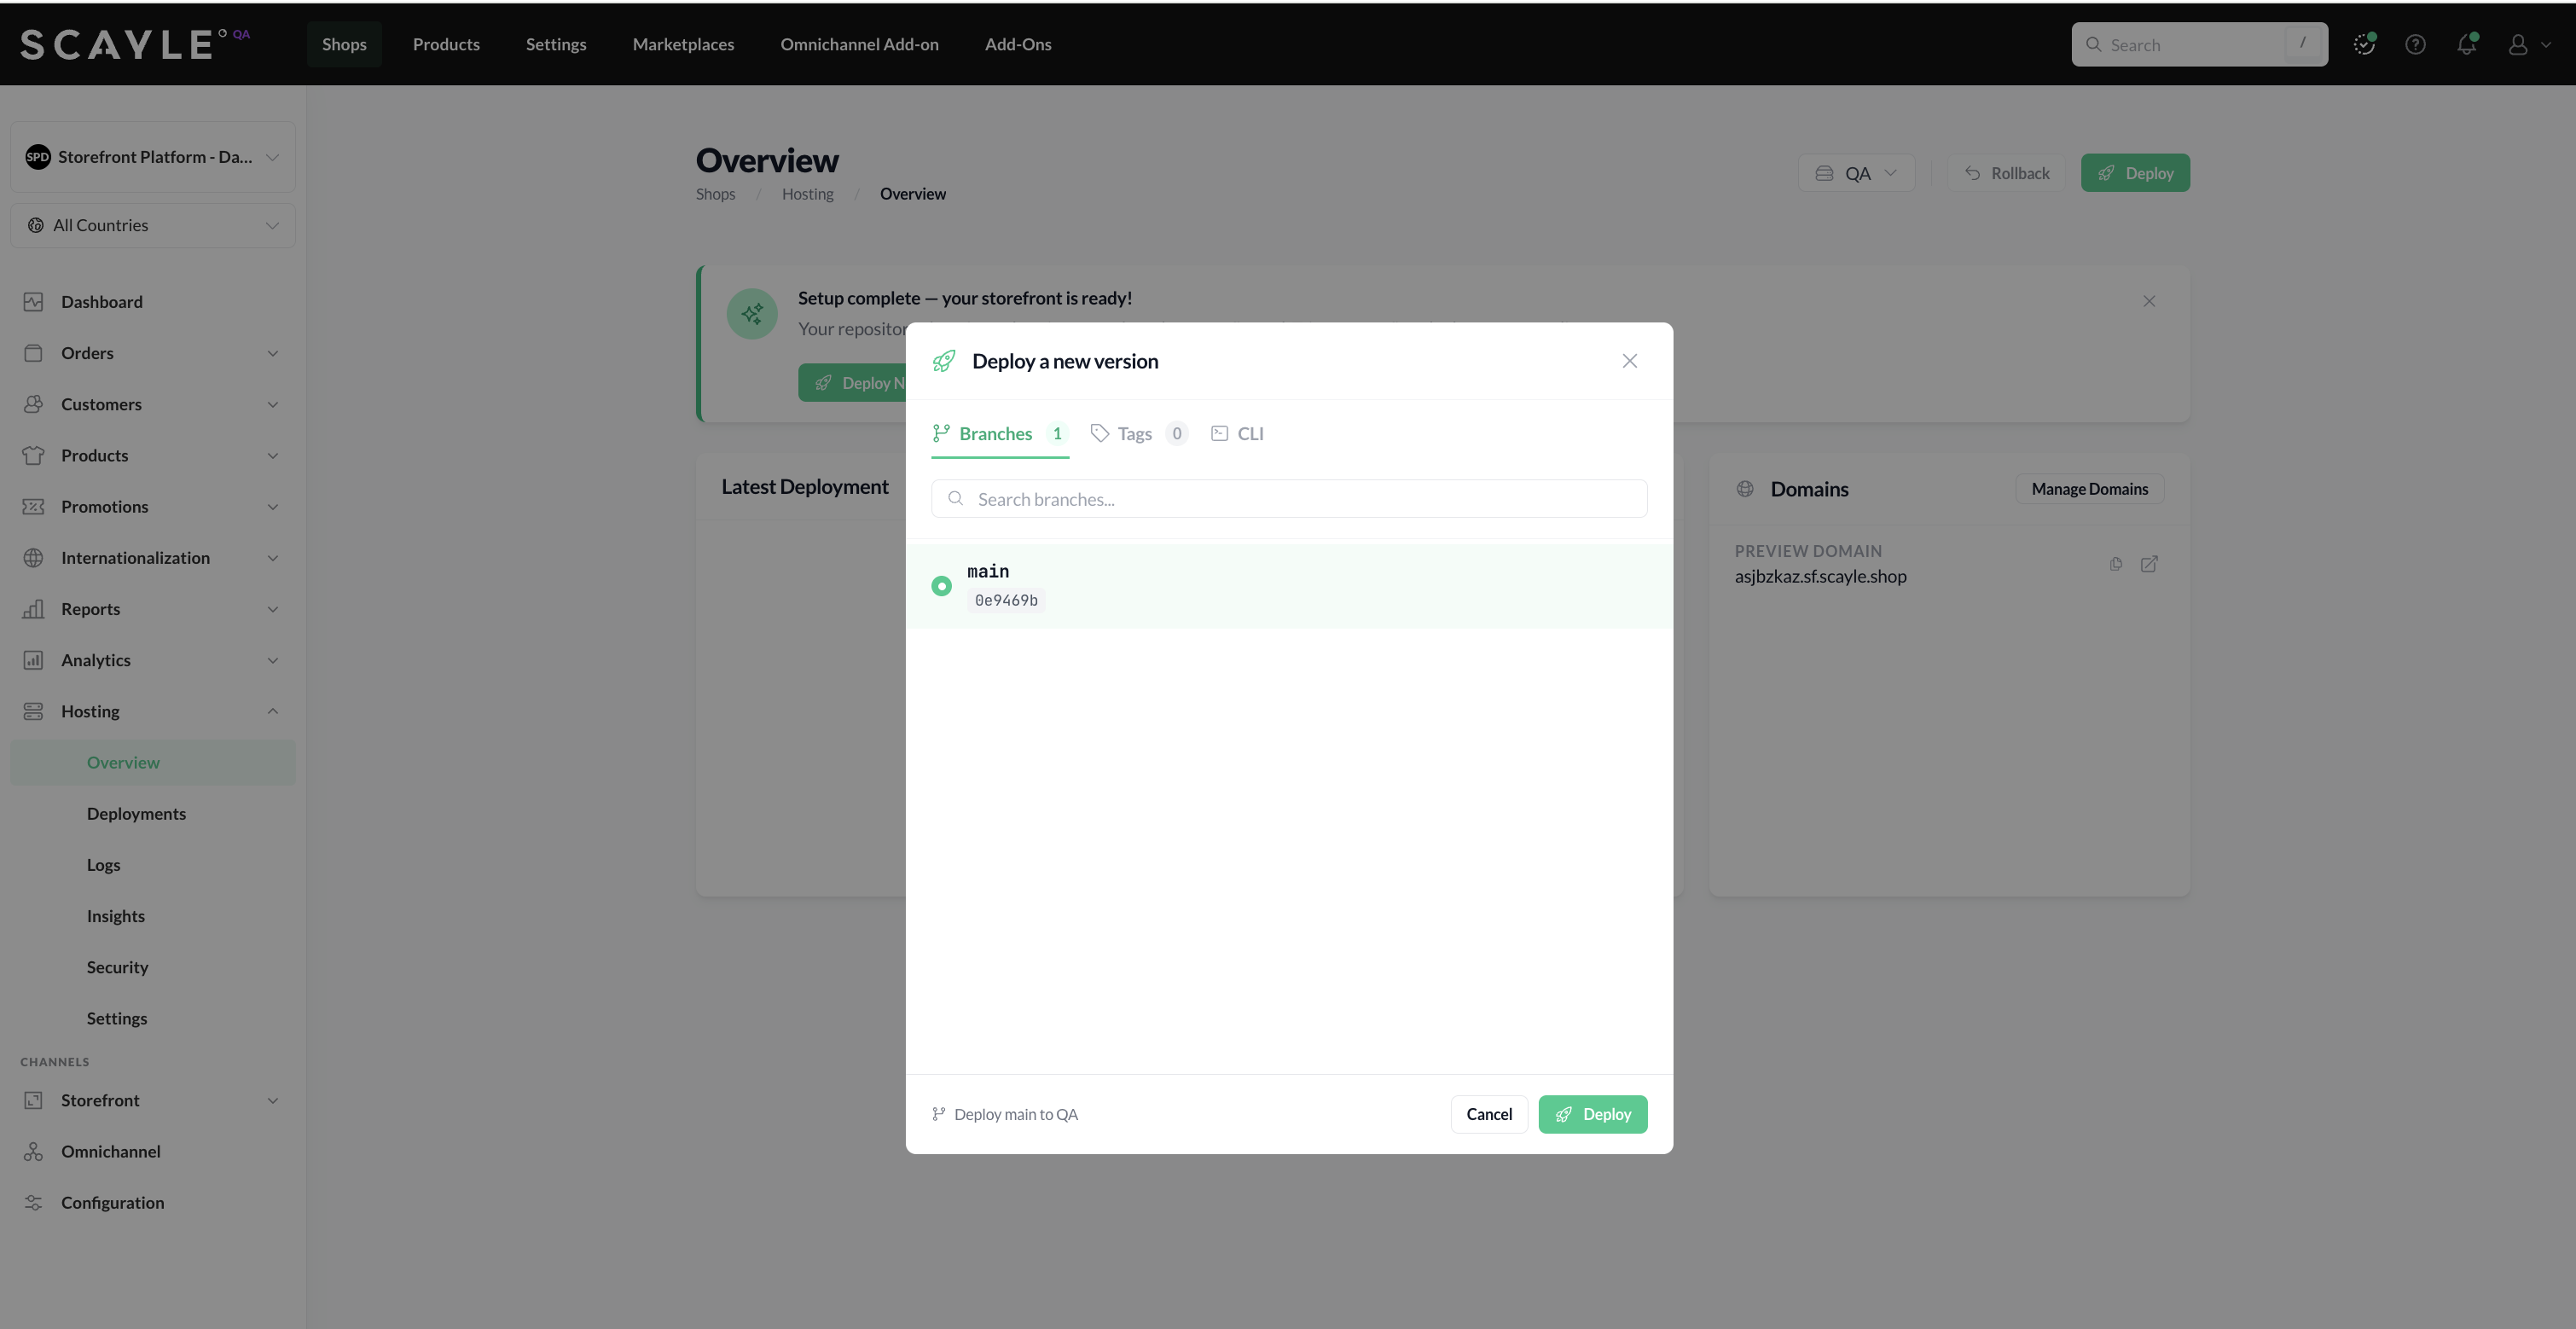
3. First Time Deploying Your Storefront
To deploy your storefront for the first time, click the Deploy button on your environment:
- Choose a branch or a tag.
- Trigger the deployment.
The build will start immediately. You can watch the status and stream build logs from the Deployments page in real time. A detailed explanation of triggering deployments - including from the CLI and CI/CD pipelines - can be found in Trigger a Deployment.
4. Visit Your Storefront Application
When the first deployment completes successfully, your Storefront Application is live and ready to view. Click your SCAYLE pre-generated domain to open it.
Congratulations 🎉
You've set up your Storefront Application and completed your first deployment! If you need help at any point, reach out to your SCAYLE Account Manager.


